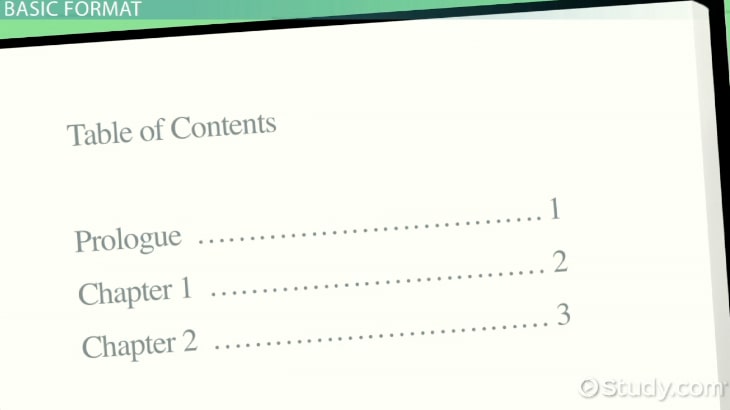
プラグインを使わずにWordPressの記事ページに目次を設置する方法

WordPressで記事を書いていて、ページが長くなってしまったとき。そのページの目次があると便利です。目的の内容も探しやすいですし、そのページにどんなことが書いてあるのかも一目でわかるので、ユーザビリティも高いといえるでしょう。
また、見出しと文章がきちんと組み立てられているのであれば、内部リンクにもなるのでSEO効果も期待できるという考え方もあります。
今回は、そんなページ内の目次をプラグインを使わないで実装する方法を紹介します。初めて実装してみたのですが、簡単に導入することが出来ました。これくらいで実装出来るのであれば、わざわざプラグインに頼らなくても充分です。
プラグインなしで目次を実装する方法
jQuery
まずは目次を実装する際の基本になるjQueryを記述します。メンテナンス性を考慮して、今回はmokuji.jsというjavascriptのファイルを用意します。もちろん、footer.php等に直接記述しても構いません。
mokuji.jsには下記のように記述してください。記事内にある<h2>~<h5>を自動的に目次の項目として認識します。ファイルを保存したらFTP等でアップし、jQuery本体と一緒に読み込んでください。
jQuery(function($) {
    var idcount = 1;
    var toc = '';
    var currentlevel = 0;
    jQuery("article h2,article h3,article h4", this).each(function() {
        this.id = "toc-" + idcount;
        idcount++;
        var level = 0;
        if (this.nodeName.toLowerCase() == "h2") {
            level = 1;
        } else if (this.nodeName.toLowerCase() == "h3") {
            level = 2;
        }else if (this.nodeName.toLowerCase() == "h4") {
            level = 3;
        }else if (this.nodeName.toLowerCase() == "h5") {
            level = 4;
        }
        while (currentlevel < level) {
            toc += "<ol>";
            currentlevel++;
        }
        while (currentlevel > level) {
            toc += "</ol>";
            currentlevel--;
        }
        toc += '<li><a href="#' + this.id + '">' + jQuery(this).html() + "</a></li>\n";
    });
    while (currentlevel > 0) {
        toc += "</ol>";
        currentlevel--;
    }
    if (jQuery("article h2")[0]) {
        jQuery("#toc").html('<div class="mokuji">CONTENTS</div>'+ toc);
    }
});
目次のタイトルは<div class="mokuji">CONTENTS</div>の「CONTENTS」の部分になります。適宜変更してください。
functions.php
functions.phpには次の内容を記述します。これで記事内にある一番最初の<h2>の前に自動的に目次が入るようになります。
function read_toc_scripts(){
  wp_enqueue_script( 'toc', get_template_directory_uri() .'/toc.js', array('jquery') );
}
add_action( 'wp_enqueue_scripts' , 'read_toc_scripts' );

function toc_in($the_content) {
  if (is_single()) {
    $toc = "<div id=\"toc\"></div>";

    $h2 = '/<h2.*?>/i';
    if ( preg_match( $h2, $the_content, $h2s )) {
      $the_content  = preg_replace($h2, $toc.$h2s[0], $the_content, 1);
    }
  }
  return $the_content;
}
add_filter('the_content','toc_in');
CSS
サンプルとしてこのブログで使っているCSSを載せておきます。これで最低限の動作はコピペで出来るはずです。
#toc {
	padding: 20px 15px 15px;
	margin: 0 30px 40px 30px;
	background: #f9f9f9;
	border: #ddd solid 1px;
}
#toc .mokuji{
	text-align: center;
	margin: 0 0 15px 0;
}
#toc li{
	border-bottom: #ddd solid 1px;
	padding: 10px 5px;
	margin: 0 0 10px 0;
	font-size: 14px;
	font-weight: bold;
}
#toc ol ol{
	margin: 0 0 0 10px;
}
#toc ol ol li{
	border: none;
	font-weight: normal;
	margin: 0;
}
#toc ol ol li:last-child{
	margin: 0 0 10px 0;
}
#toc ol ol li::before{
	content: "・";
}


